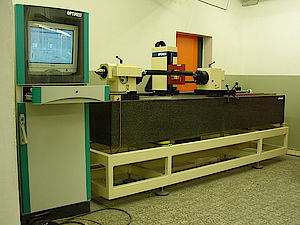
Laser measuring systems in the production
Increasing automation of production processes and adherence to modern quality guidelines, such as DIN ISO 9000 ff, are resulting in a growing level of process-integrated recording of specific product parameters and characteristics, as for example dimensional tolerance, surface and functional properties.
Therefore, there is an development away from spot-check quality control of the manufactured component towards a 100% recording of parameters during the various production stages. Due to the fact, that this recording process should, if possible, have no influence on the production time, the measurement has to be linked to the cycle time of the production process. This is the reason for an increasing use of the non contact measuring method, which offers a number of advantages, such as for example:
- high measuring frequency
- no wear-and-tear on the sensors
- no damage to the product's surface
Although many sensors operating in a non contact way are available for the above mentioned tasks, the laser-triangulation sensors, due to their high flexibility with regard to measuring range, measuring frequency, usability on a large variety of materials, etc., have opened up more and more areas of application for themselves.
When using the laser-triangulation measuring method, the laser beam, focused by an optical installation, appears on the measuring object's surface as a light spot. The diffuse reflecting light of this spot is projected via a second optical installation, which is positioned at an angle, onto the receptor (PSD or CCD unit). Each movement of the measuring object in the direction of the beam towards the sensor results in a movement of the projected spot on the photo detector. By means of the resulting different angles the distance between sensor and measuring object can be calculated very easily with the triangular relation (triangulation) sensor-receptor-measuring object.
At scanning frequencies of over 50 Hz and measuring ranges from 2mm to over 800mm, the OPTImess sensors offer an optimal adaptation to the measuring task. The fast laser control and possible optional designs (e.g. water-cooled casing) facilitate the use on jet black rubber surfaces as well as measurements on red hot surfaces of over 1000 degrees Celsius.

