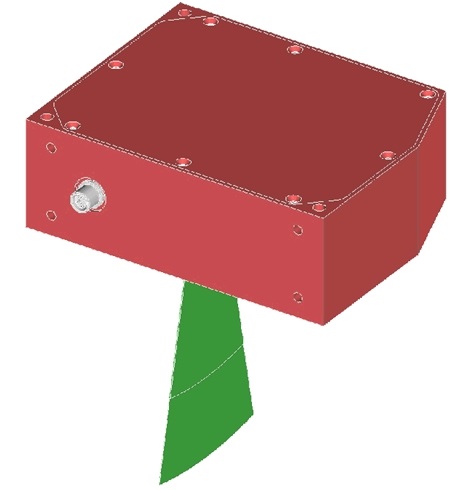
OPTIscan
In the OPTIscan, the measuring line will be realized through a scanning mirror system.
By the use of a second mirror on the same axis the reflected beam is directed towards the detector. The vertical distance will be calculated through the triangulation principle.
The horizontal position is determined via an angle measuring system at the mirror’s rotation axis. Advantage of the OPTIscan is that in every measuring point the whole laser power is available and is not distributed along the line length at the sheet of light sensor.
OPTImess 2D
In the OPTImess 2D (sheet of light method) the line will be generated through an optical widening. The line will be imaged on a CCD matrix.
The distance measurement is based on the triangulation principle.
The use of this type of sensor is advisable for many applications, where a standard OPTImess sensor would have to be moved horizontally by a mechanical device. For applications where the scanning width is small (< 400mm) it is possible to use the OPTIscan /OPTImess 2D. Hereby it is possible to reduce the costs for a complex mechanical system.


